Adding Agent Software to 12c Cluod Control
8/24/2015 07:49:00 PM
When you install 12c Cloud Control (you can find how to install 12c Cloud Control in my previous post) it comes with its default agent which depends on your environment. If you install it on a Linux 64-bit box, you get only Linux x86-64 agent. Therefore you need to get agents for multi-OS environment which requires 4 easy steps:
1. Log on to Enterprise manager as sysman or an administrator user, from Setup menu on the right corner move to My Oracle Support --> Set Credentials to access Oracle Support.

2. Check for updates to download from Setup --> Extensibility --> Self Update

A job will be created to check, you can schedule it for later or run it right away.
3. When job succeeded, go to Setup --> Extensibility --> Self Update. Dig into Agent Software, select the ones you want to download and click download.

Again a job will be created.
4. When download job succeeds, go back to Agent Software page, select the one downloaded and apply it.
Now agent software is ready to deploy.
Installing 12c Cloud Control R5
8/24/2015 07:48:00 PM
To install 12 Cloud Control first thing you need is a database. You can find how to install a 12c database for 12c Cloud Control from my last post. After this crucial step, run the installer for Enterprise Manager as oracle (or any user you wish to use as software owner):
$ unzip em12105_linux64_disk1.zip -d oem
$ unzip em12105_linux64_disk2.zip -d oem
$ unzip em12105_linux64_disk3.zip -d oem
$ cd oem
$ ./runInstaller
As a note, pre-install package for RDBMS 12c sets maximum number of files to 1024. However if you're installing OEM on the same server as its database, you need to increase t to 4096 as a requirement of 12c Cloud Control. Otherwise you may get a failure during prerequisite checks step of installation. To achieve this requirement, as root open /etc/security/limits.conf file and edit the necessary lines as follows:
# oracle-rdbms-server-11gR2-preinstall setting for nofile soft limit is 1024
# oracle soft nofile 1024
oracle soft nofile 4096

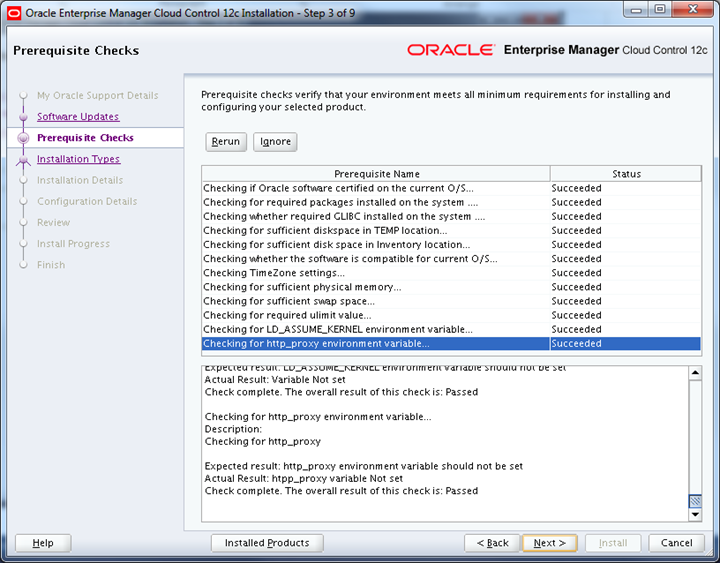
I'll choose to install in Simple mode and keep settings and preferences as default. You can move on with advanced type to customize configuration.


Set database connection parameters.


Run root script


On the summary screen you may find URLs to access Enterprise Manager.
Next step is deploying agents...
Installing 12c Database for 12c Cloud Control
8/24/2015 07:44:00 PM
As you know, you need a database for 12c Cloud Control as management repository. Since 12c is out there for a while and we are not upgrading our 11gR2 databases to 12c yet, I think it's a good idea to use 12c for this purpose and get custom with it. As a reminder, Oracle says it's free to install a database if you use it for OEM purposes only. So, let's begin.
We'll install 12.1.0.2.4 database on Oracle Linux 6.6
First thing to do, as a requirement, is installing oracle-rdbms-server-12cR1-preinstall package. This package makes the whole process pretty easier. I can say this is first -and frankly the second- reason I choose to use Oracle Linux.
As root:
$ yum install oracle-rdbms-server-12cR1-preinstall
Then create necessary directory for installation and grant privileges:
$ mkdir /u01
$ chown -R oracle:oinstall /u01
Do not forget to set password for oracle user. Then log on as oracle and start installation. Unzip installation files an run the installer:
$ unzip linuxamd64_12102_database_1of2.zip
$ unzip linuxamd64_12102_database_2of2.zip
$ cd database
$ ./runInstaller

Choose to install software only. It'll be a single instance.


Now install the latest PSU. You can check the latest one from Doc ID 756671.1. Before applying PSU update OPatch first. Check patch number 6880880 for latest OPatch. PSU Installation may differ from version to version, so please refer to its documentation.
Now it's time to create a database. There're Enterprise Manager templates you can download. Follow the link and download db templates zip file. Before running DBCA to create a database unzip the file you downloaded to templates directory:
$ unzip 12.1.0.2.0_Database_Template_for_EM12_1_0_5_0_Linux_x64 -d /u01/app/oracle/product/12.1.0.2/dbhome_1/assistants/dbca/templates/
$ dbca

Choose advanced mode to continue:
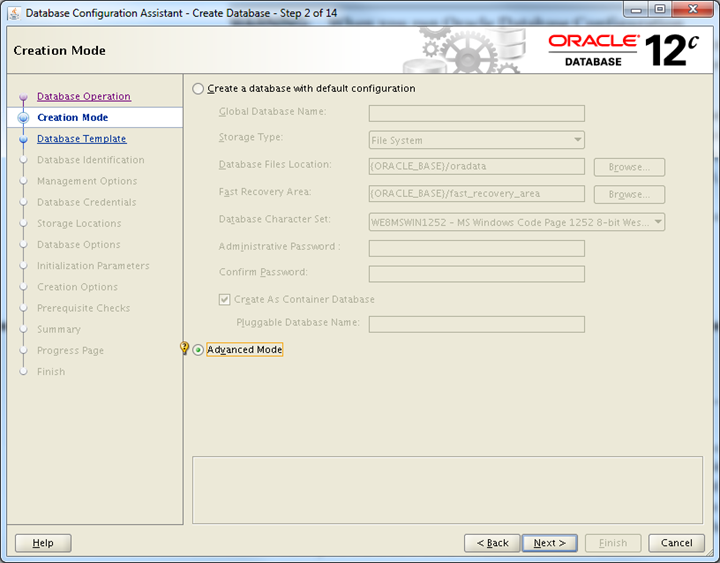
Select Database Template fro EM according to your EM deployment size; small, medium or large.

Set your database name

De-select "Configure EM Database Express"


Set appropriate directories for database files

Select the following script file to run. It'll set a couple of parameters:
/u01/app/oracle/product/12.1.0.2/dbhome_1/assistants/dbca/templates/shpool_12.1.0.2.0_Database_SQL_for_EM12_1_0_5_0.sql

Set SGA and PGA according to your server size:


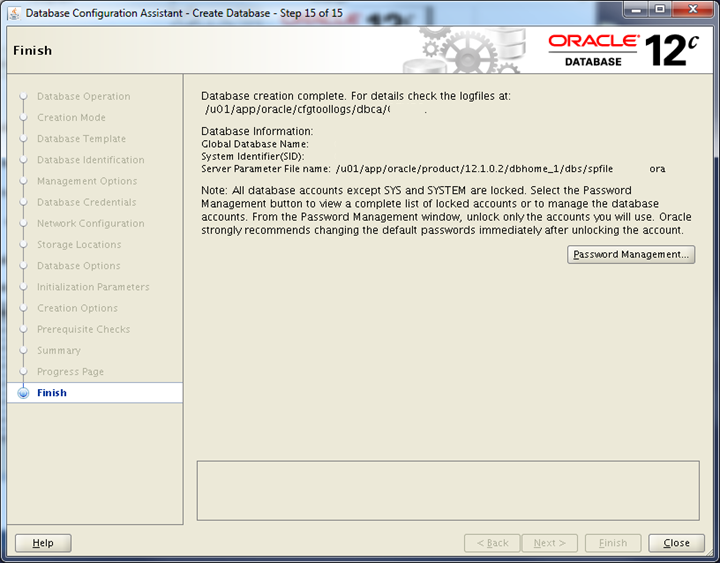
And your database for 12c Cloud Control is ready. On my next post, I'll be explaining 12 Cloud Control installation.
Data Redaction in Oracle 12c and 11gR2
4/10/2014 01:13:00 AM
Data Redaction is one of the new features of 12c actually, and also it's become available in 11gR2 with 11.2.0.4. Data Redaction is in Advanced Security option of enterprise edition.
What Data Redaction does is basically masking the data on the fly based on the type and expression given. Let's do a demonstration:
First thing to do is to create a policy. Policies are created on tables and a table can have only one policy. If you try to add a policy to table with a policy, you get ORA-28069. Policy can be defined for only a single column at a time but you can add columns to the policy by altering it.
begin
dbms_redact.add_policy (
object_schema => 'DEMO',
object_name => 'CUSTOMERS',
column_name => 'CNAME',
policy_name => 'customers_pol',
function_type => DBMS_REDACT.REGEXP,
regexp_pattern => '(\S{3})(\S+)',
regexp_replace_string => '\1***',
expression => 'SYS_CONTEXT(''USERENV'',''SESSION_USER'') != ''SYS'''
);
end;
/
Above command creates a policy on table CUSTOMERS in schema DEMO and it masks column CNAME by using regular expressions. Masked values will contain first 3 letters of the name (each name if customer has a middle name) and 3 "*"s.
There are 6 types of redaction; full, partial, regexp, random and none. You can find detail information in Oracle documentation. Please not the expression parameter. What we're saying here is apply this policy to users who are not sys. By default polices applied against users except sys and object owner. So if you also want table owner gets masked values or you want to redact data based on application, such an expression must be used. Expression is a mandatory parameter, you can set it as '1=1' if you have no rule to apply.
begin
dbms_redact.alter_policy (
object_schema => 'DEMO',
object_name => 'CUSTOMERS',
policy_name => 'customers_pol',
action => DBMS_REDACT.ADD_COLUMN,
column_name => 'DOB',
function_type => DBMS_REDACT.PARTIAL,
function_parameters => DBMS_REDACT.REDACT_DATE_EPOCH,
expression => 'SYS_CONTEXT(''USERENV'',''SESSION_USER'') != ''SYS'''
);
end;
/
By altering the policy we've created, we added another column of the table to be masked. Here we used built-in redaction function. This function set all date values to 01-Jan-1970. There are couple of more pre-defined functions such for SSN, e-mail zip code.
begin
dbms_redact.alter_policy (
object_schema => 'DEMO',
object_name => 'CUSTOMERS',
policy_name => 'customers_pol',
action => DBMS_REDACT.ADD_COLUMN,
column_name => 'CID',
function_type => DBMS_REDACT.FULL,
expression => 'SYS_CONTEXT(''USERENV'',''SESSION_USER'') != ''SYS'''
);
end;
/
This time we add CID column to the policy and redacted it fully. So masked values will be displayed as 0. To change a columns redaction type, alter policy again by setting altering action to MODIFY_COLUMN:
begin
dbms_redact.alter_policy (
object_schema => 'DEMO',
object_name => 'CUSTOMERS',
policy_name => 'customers_pol',
action => DBMS_REDACT.MODIFY_COLUMN,
column_name => 'CID',
function_type => DBMS_REDACT.RANDOM,
expression => 'SYS_CONTEXT(''USERENV'',''SESSION_USER'') != ''SYS'''
);
end;
/
Now, we set it to use random masking, random values will be generated for the column. Redacted query output is as below at the end:
SQL> select cid, cname, dob from demo.customers;
CID CNAME DOB
-----------------------------------------
1311680984 ABD*** AYD*** 01-JAN-70
102691765 AHM*** YIL*** 01-JAN-70
819107024 ARI*** DEM*** 01-JAN-70
7285271581 AYD*** TUR*** 01-JAN-70
22688323660 AZM*** SEV*** 01-JAN-70
7508336149 HAC*** ELM*** 01-JAN-70
46158355970 HAL*** HAT*** 01-JAN-70
Finally, if you need to drop a policy:
begin
dbms_redact.drop_policy(
object_schema => 'DEMO',
object_name => 'CUSTOMERS',
policy_name => 'customers_pol'
);
end;
/
Data redaction is not a complicated way of defining security policies however what I see as a downside is one-to-one relationship between columns and policies: It is not allowed to add another policy/expression for a column, you get ORA-28060 error. So what you need is to create a rule base which has different masking types for different roles on the very same table, you need another tool. Otherwise you have practical data masking tool.
Subscribe to:
Posts (Atom)


 Posts
Posts

